 Developer Run
Built a Macro Pad with Knob and Display
I did not have time to build a full mechanical keyboard (and I'm happy with X-Bows Lite), so I built myself the macro pad. Extra buttons are always useful, especially a knob for volume control.
Buttons are mapped to: Play/Pause, Next Song, Start/Stop Pomodoro, and one for later use.
I've even found a practical application for an OLED display:
- When I'm playing fullscreen games, display shows GPU/GPU temperature and overheat warnings to not overcook the chips. And the current time so I don't overcook my brain by forgetting to sleep.
- When media is playing, display shows title of currently playing song or Youtube video.
- When rotating the knob, the display shows the percent of volume. The trick is that it shows the actual OS volume, so it will be correct even in case the volume is changed by other means (like os interface). This is achieved by sending the current system volume to the device when handling volume keypress in Linux.
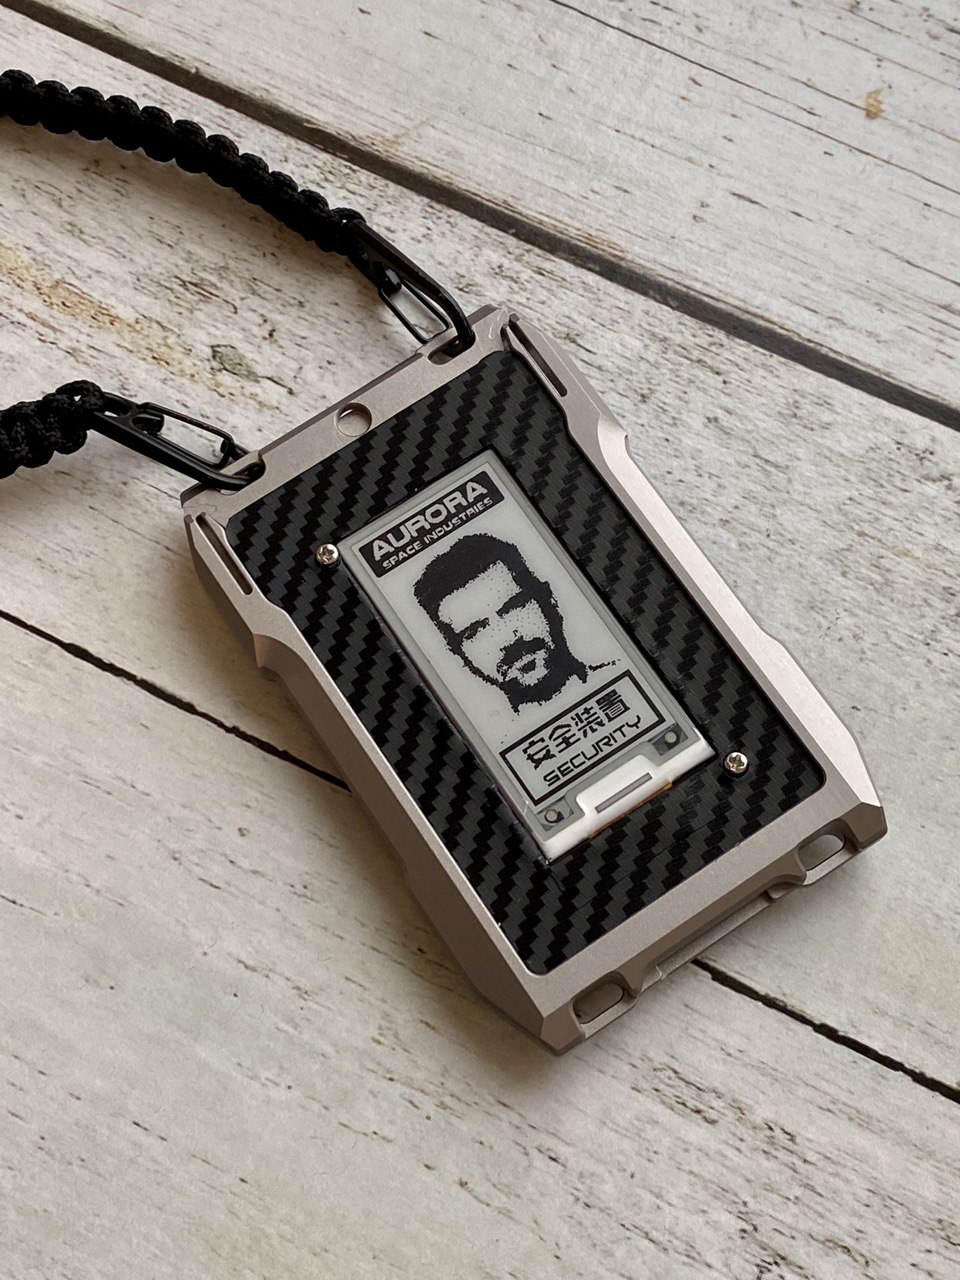
- When idle, the display shows some awesome monochrome logos I've shared previously. Just like the way it looks.
To communicate with the display made a script to send any text, or show logo or progress bar on the macro pads display. On the receiving end is some QMK trickery, of course.
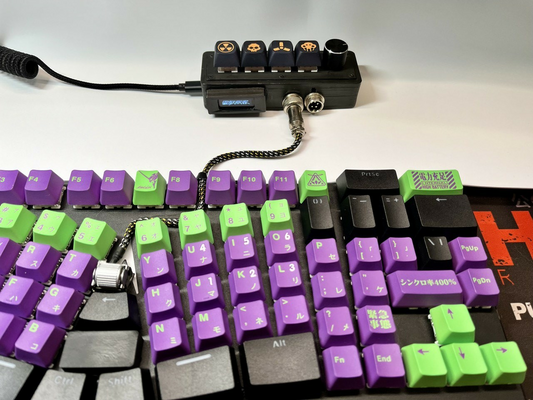
Fancy wire goes to Scroll Wheel

Wire with fancy "aviator connectors" goes to a custom Scroll Wheel I've put in the center of a keyboard. This is an evolution of my QMK Scroll Wheel project by adding some extra functionality to Raspberry Pi Pico.
The second "aviator" will be used for connecting Cirque trackpad. Yes QMK supports it! But that is the story for the next time.
Case is a combitation of 3d printed marcropad and display case. Superglued together, then modified in place by hand-drill and file. Coz sculpting out surplus parts is faster than reprinting.
Overall I'm happy about the gadget's looks, and find it a very convenient addon to my keyboard. As always, I'm sharing the Bill of Materials, but note that getting this done required not only assembly but also investing some time in learning some custom QMK firmware programming.

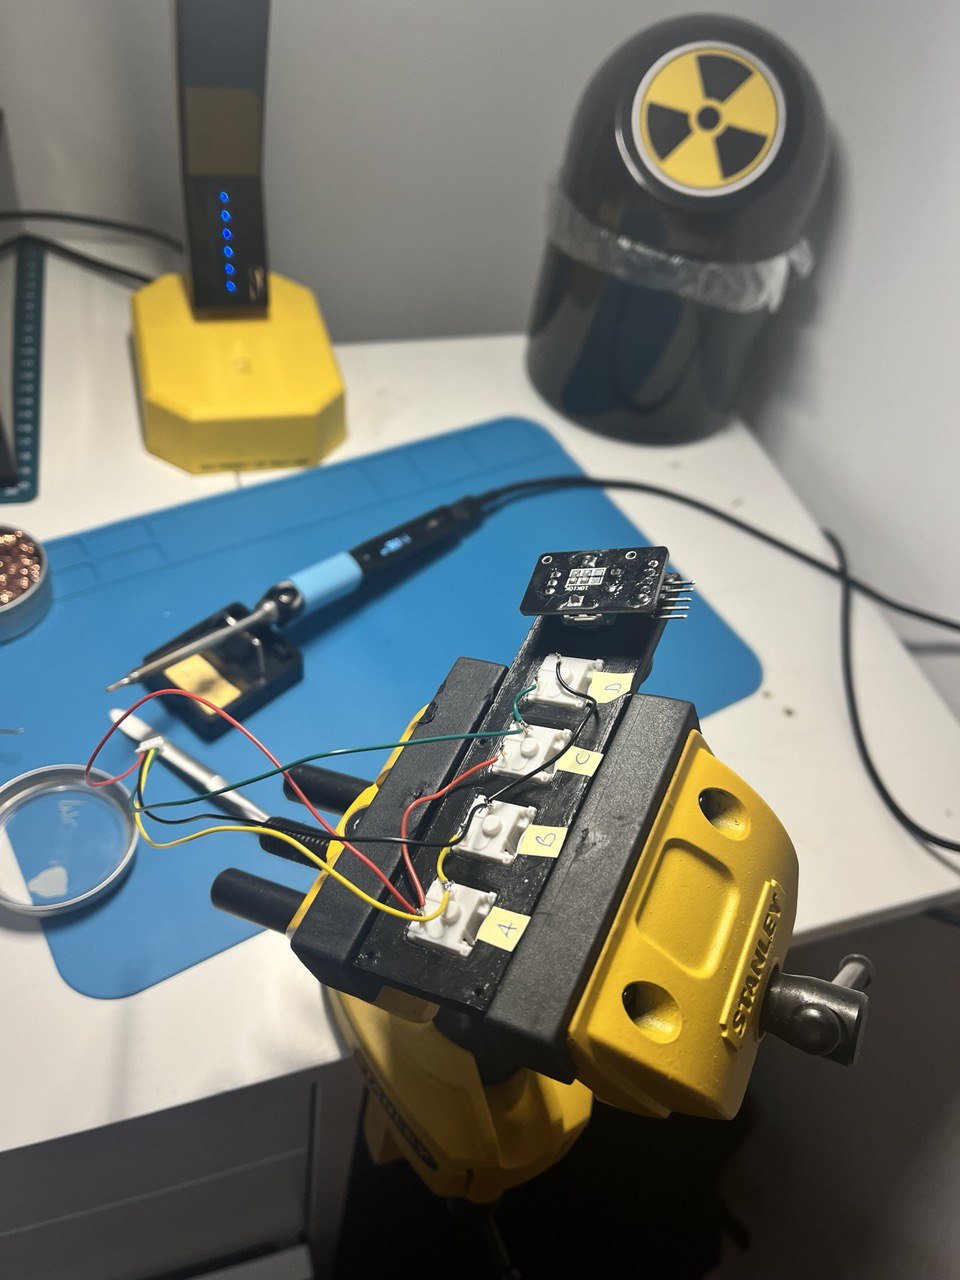
Wiring

© 20xx
Hosted on Cloudflare Pages, which is awesome!